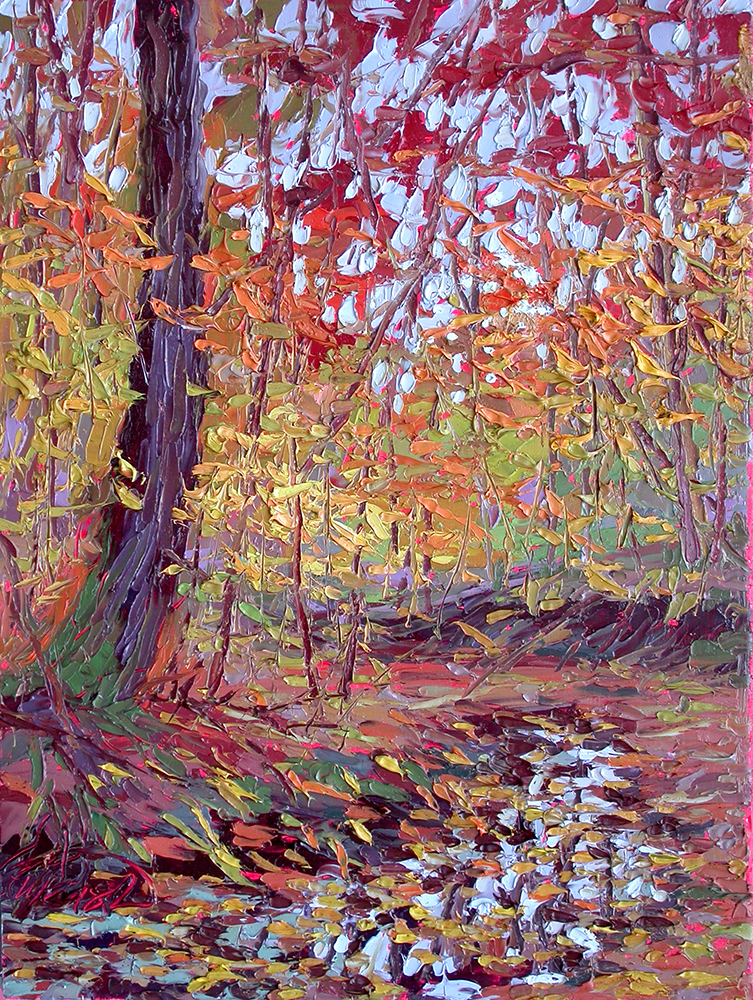
Late Autumn in Yellowwood, November 9, 2021

Late Autumn in Yellowwood, November 9, 2021
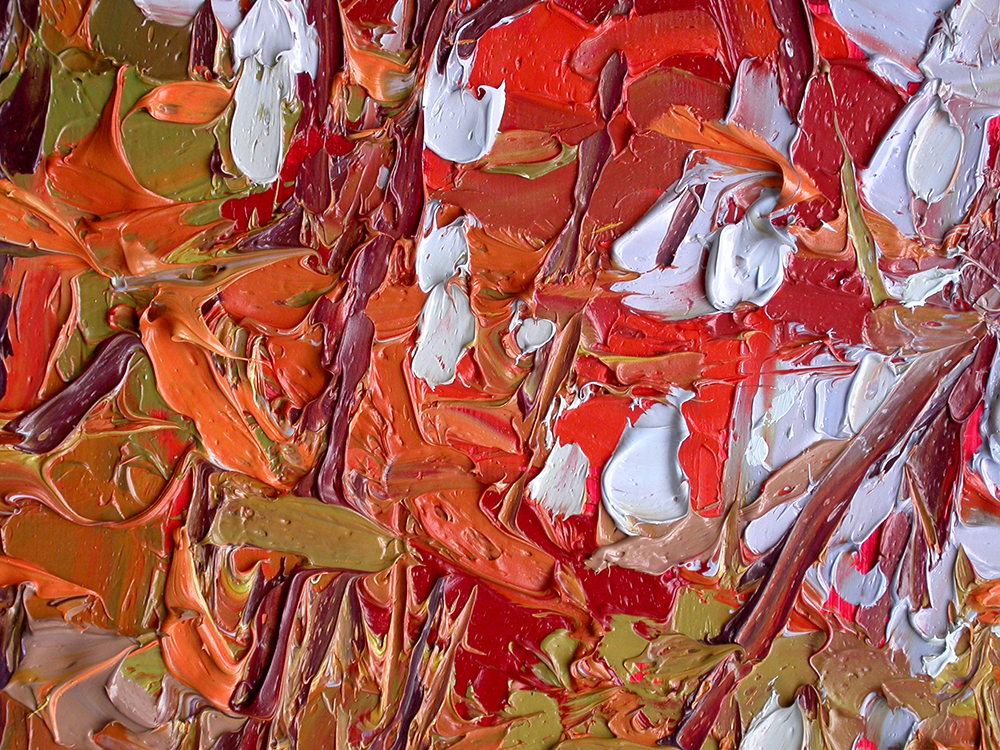
Autumn is super late this year. As late as I have ever seen it. There are still some green leaves in the forest on November 9! Here is the plein air painting I did November 4, 2021. You can see how much more green there is in the forest at this late date.
Lots of gold and orange and rust colored leaves on the trees. Glad the season is running late because so am I!

Gray, overcast day in the mid-60°s. Gray days create a wonderful light in the forest. Ethereal and shimmering.

I hiked my three mile circuit in Yellowwood State Forest, stopping at the farthest point to set up my tripod, pochade, and paints. Does my pack get heavier every year or what?
More details:

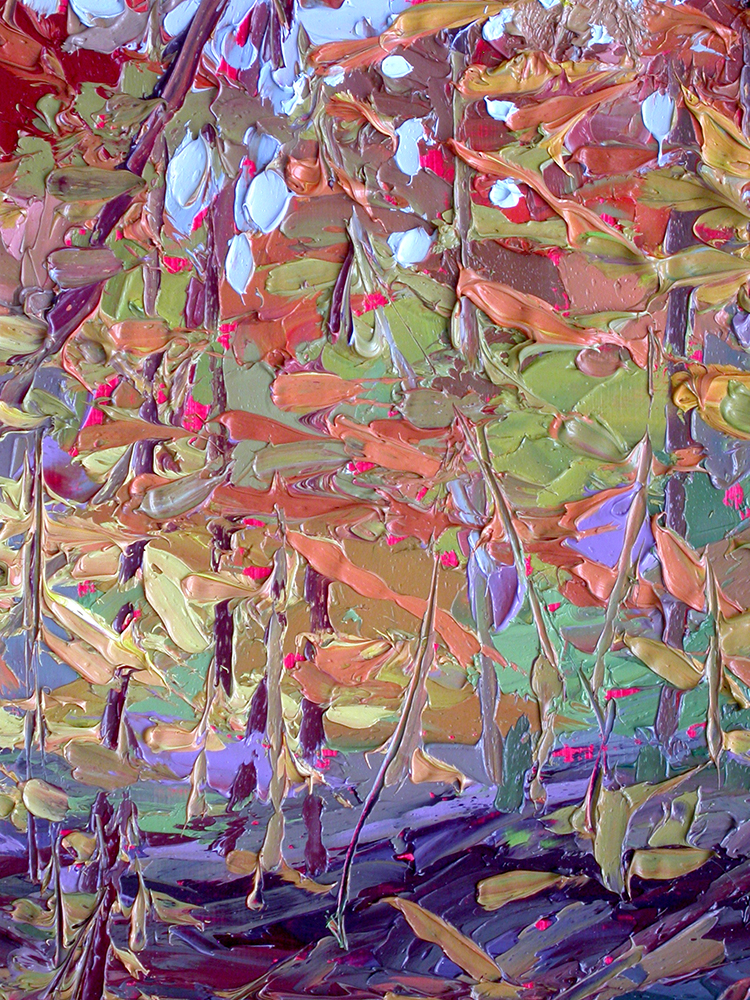
Lots of energy exudes from the forest and into the paint!
So much rich color from greens to chartreuses to oranges, golds, and rusts. And cool blues and violets.
I work back and forth between the foreground, background, middle ground , sky, and creek.

Trees are painted in and then over and pushed back. Then pulled forward again until there are multiple layers of depth with the leaves and trees.

Some of the leaves are rich golds and oranges.
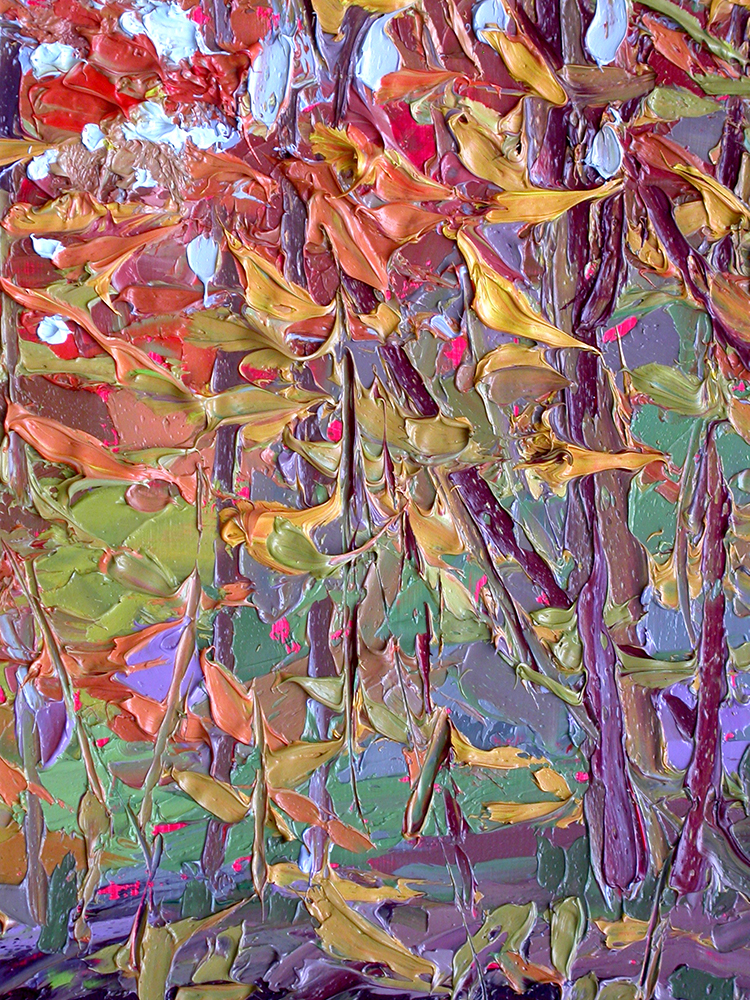
Other parts of the painting are cool and restive.
Detail of the signature in the wet paint:

This time I packed the wet painting in a Raymar box instead of the other carrier I had that doesn’t protect it quite as well. Check out last week’s blog for the story on that. Not to mention, I had to do some repairs on the other carrier.
When I get back to the studio, I usually wait a few hours before pulling the painting out of the carrying box so I can see it with “fresh eyes”. Then I write my field notes on the back of the painting.
Finished Painting:
Field Notes on the Back of the Painting
Gray, overcast, mid-60°s, Tommy stayed with me, Jack explored the forest but was at the back gate when I got there. 1:30-4:30 p.m.. Cools down. Yellowwood State Forest, Brown County, Indiana. Plein air oil. “Late Autumn in Yellowwood, November 9, 2021.”
Mark your calendar! The 2021 Christmas Art Launch Is Coming Soon!!

I will be getting the Christmas Art Launch ready soon so keep an eye out for more news on that in the next 2-3 weeks. The tentative dates are December 6-8, 2021. Original oil paintings in a variety of sizes as well as prints on canvas will be specially priced just for my VIPs. I’ll have some new releases and surprises, too.
This event is exclusively for my VIPs.
There will also be a selection of fine gift items like artistic mugs and tee shirts. Yoga mats, leggings, rash guard shirts, and swimsuits over on my Charlene Marsh Designs website will be included, too. At least, that’s the plan. I’m probably going to need some help from Santa’s elves to get it all done in time, along with some other deadlines I have.
So, that’s it for today! Thanks for tuning in.
Happy trails,
Charlene
P.S. If you are not already a VIP, sign up now!


 Please let me know what you think.